The Millville build - Part Two:
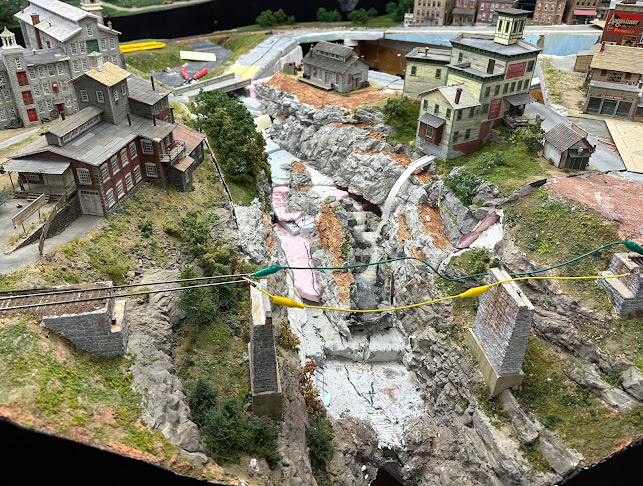
Okay, we are moving along with the process. In these next 4 photos I work on the placement/trimming of the diorama sections. Also the process of adding the needed rock work to extend down to the riverbed is started.

First, I fiddle with the parts in place...
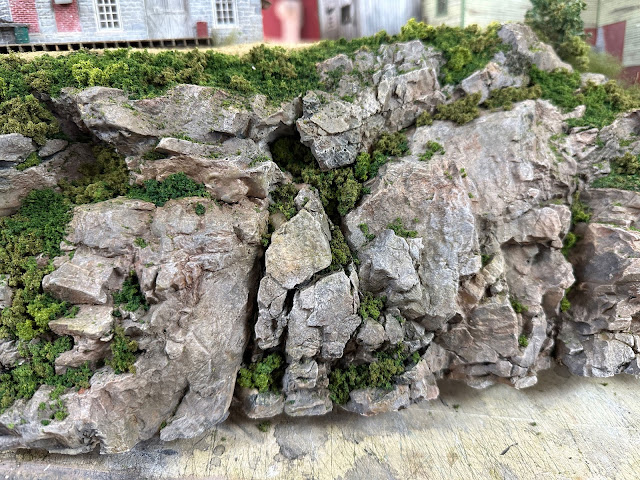
...Then I add/extend the rock work & test fit.
I use watered down acrylics and when dry, lightly apply some Pan Pastels in a few areas using cheap make up brushes.
The final finish is a very sparse dry brushing using the craft acrylic color "linen", which is very close to the old Polyscale "concrete"
For the "initial" ground work, I start with sieved fine dirt, then Woodland scenics fine blended turf, topped with various Woodland Scenics coarse turfs. Emphasis on the word "initial"…As in any product available (Scenic Express) by Busch, Martin Welberg, Noch, Silfor and so on...
Major parts in place & water features added on left side of river.

First trees added and water features added to upper reaches of the river.


No comments:
Post a Comment